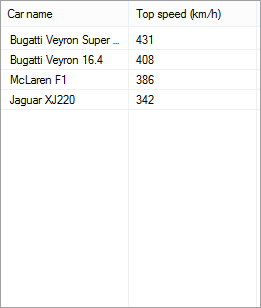
Default list without grid lines below items

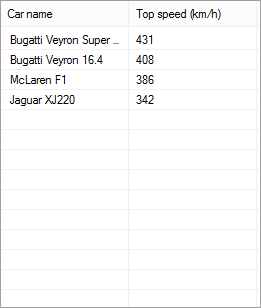
List with grid lines added
Setting grid lines in Better ListView is easy. Simply make sure you are using Details view (the default view). Then you can set GridLines property to one of the following values:
- None – grid lines are hidden
- Horizontal – only horizontal lines are displayed
- Vertical – only vertical lines are displayed
- Grid – both horizontal and vertical lines are displayed, forming a grid
None of these settings, however, cause drawing lines below the last visible item, which may be desirable. The reason for this is that Better ListView supports custom item height and there is uncertainity about the spacing between new grid lines (smallest?, largest?, average?) It is up to your choice.
To draw new grid lines, handle the DrawBackground event (or subclass BetterListView and override the OnDrawBackground method) with the following code:
[csharp gutter=”false” toolbar=”false”]
private void ListViewOnDrawBackground(object sender, BetterListViewDrawBackgroundEventArgs eventArgs)
{
BetterListView listView = (BetterListView)sender;
// get last visible item
var item = listView.BottomItem;
if (item == null)
{
return;
}
// measure row height
var bounds = listView.GetItemBounds(item);
int rowHeight = bounds.BoundsOuterExtended.Height;
// draw additional lines
Rectangle rectClient = listView.ClientRectangleInner;
Pen penGridLines = new Pen(listView.ColorGridLines, 1.0f);
int y = (bounds.BoundsOuterExtended.Bottom + rowHeight);
while (y < rectClient.Bottom)
{
eventArgs.Graphics.DrawLine(
penGridLines,
rectClient.Left,
y,
rectClient.Right - 1,
y);
y += rowHeight;
}
penGridLines.Dispose();
}
[/csharp]
What this code does is getting the last visible item using BottomItem property. It is important to get this visible item instead of e.g. first item because GetItemBounds method returns non-null value on visible items only. The GetItemBounds method reveals item measurement which is used to determine item height and coordinate of its bottom. Finally, we draw new lines using current grid line color (ColorGridLines property) until reaching the bottom of the view.


